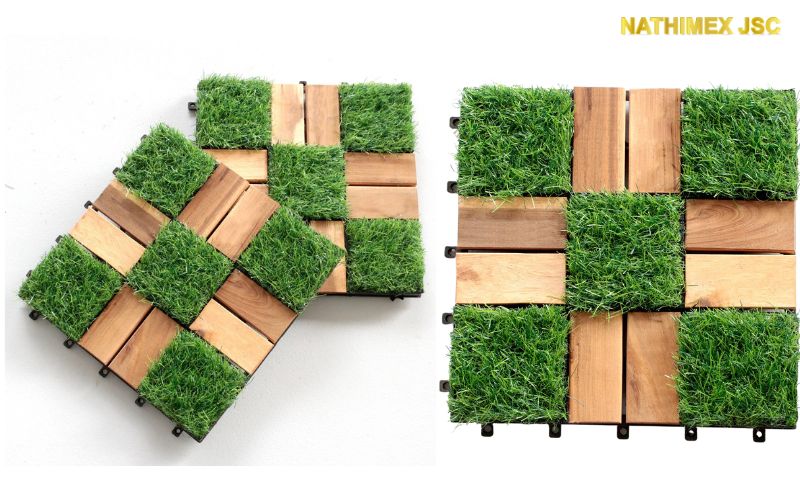
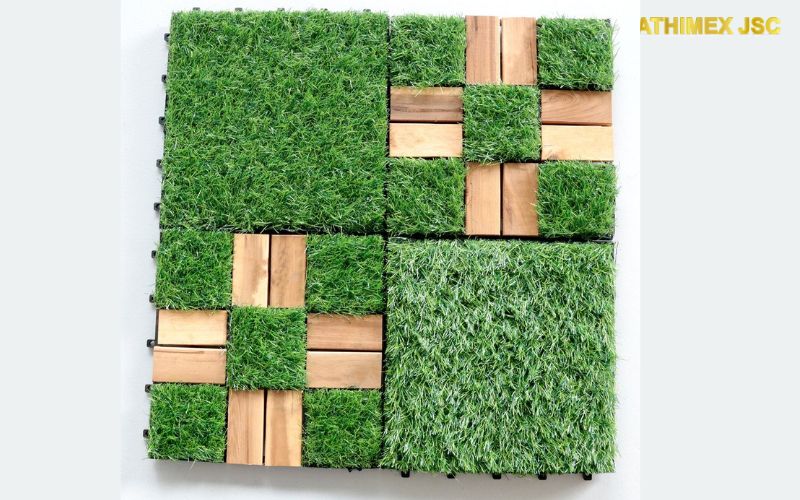
Grass deck tiles are an excellent option for creating a beautiful and low-maintenance outdoor space. They are easy to install and offer a natural look that enhances the beauty of any outdoor area. However, proper installation and maintenance are crucial for ensuring the longevity of grass deck tiles. In this blog post, we will discuss everything you need to know about installing and maintaining grass deck tiles to make them long-lasting.
Pre-Installation Preparation
Before installing grass deck tiles, it is essential to prepare the area to ensure a smooth installation. First, measure the area and calculate the number of tiles needed. You can use a measuring tape or a laser distance meter to measure the length and width of the installation area. Then, check for a level surface, as any unevenness can cause the tiles to shift or crack. Use a level or a straight edge to determine if the surface is level. If it's not level, you can use a leveling compound or sand to create a flat surface. Clear the area of debris and vegetation, as it can affect the stability of the tiles. Remove any rocks, sticks, or other debris from the installation area. Also, make sure that the area is free of weeds or grass.
Grass Deck Tile Installation
Installing grass deck tiles is easy and straightforward. Follow these steps for a successful installation
-
Step 1: Lay the first tile in one corner of the installation area, making sure it is level. Use a level or a straight edge to ensure that the tile is level.
-
Step 2: Place the next tile alongside the first tile, making sure there is no gap between the tiles. You can use tile spacers to ensure that the tiles are evenly spaced.
-
Step 3: Continue laying tiles in a straight line until the row is complete. Use a level or a straight edge to ensure that the tiles are level.
-
Step 4: Start the second row with a half tile to create a staggered pattern. This will ensure that the seams are not in a straight line.
-
Step 5: Repeat steps 2-4 until the installation is complete. Use a utility knife or a saw to cut the tiles to fit around edges.

Tips for Achieving a Professional Finish
To achieve a professional finish when installing grass deck tiles, follow these tips:
-
Use a straight edge to ensure the tiles are aligned correctly. This will ensure that the tiles are straight and evenly spaced.
-
Cut tiles to fit around edges using a utility knife or saw. Use a straight edge to guide the knife or saw for a clean cut.
-
Use an adhesive to secure the tiles in place. This will prevent the tiles from shifting or coming loose over time.
-
Sweep sand between the tiles to fill any gaps and create stability. This will prevent the tiles from shifting and help to create a more stable surface.
Common Mistakes to Avoid During Installation
To avoid common mistakes when installing grass deck tiles, follow these tips:
-
Failing to check the levelness of the surface before installation. If the surface is not level, the tiles may shift or crack over time.
-
Not using enough adhesive to secure the tiles in place. This can cause the tiles to come loose over time.
-
Forgetting to stagger the tiles to create a more professional look. Staggering the tiles will create a more natural look and prevent the seams from being in a straight line.
Maintenance of Grass Deck Tiles
Maintaining grass deck tiles is essential to ensure their longevity. Follow these tips for cleaning and caring for grass deck tiles:
-
Regular Cleaning: Sweep or blow off debris and leaves regularly to prevent the buildup of dirt and grime. You can also use a leaf blower or a broom to remove debris.
-
Preventing Weed Growth: Apply weed killer regularly to prevent weed growth between the tiles
-
Proper Drainage: Ensure proper drainage of water to prevent pooling on the tiles. This can cause mold and mildew growth, leading to damage and discoloration.
-
Avoid Heavy Equipment: Avoid placing heavy equipment or furniture directly on the grass deck tiles. This can cause damage and create unevenness on the surface.
-
Stains: Clean up any spills immediately to prevent staining. You can use a mild detergent and water to clean up spills and stains.
-
Deep Cleaning: Deep clean the tiles once or twice a year using a pressure washer or a garden hose with a high-pressure nozzle. This will remove any dirt, grime, and stains and restore the tiles to their original look.

Maximizing the Lifespan of Grass Deck Tiles
To maximize the lifespan of grass deck tiles, it is important to take additional measures to protect them:
-
Seasonal Maintenance: In the fall, remove leaves and debris from the tiles to prevent staining and discoloration. In the winter, use a shovel to remove snow to prevent damage.
-
Protecting from Extreme Weather Conditions: If you live in an area with extreme weather conditions, cover the tiles with a tarp during storms to protect them from damage.
Proper installation and maintenance are essential for ensuring the longevity of grass deck tiles. Follow the pre-installation preparation steps, installation tips, and maintenance guidelines to make your grass deck tiles long-lasting. With proper care, grass deck tiles can provide a beautiful and low-maintenance outdoor space for many years to come.
